Heads up: Some links in this post are affiliate links. We may earn a small commission at no extra cost to you.
Last updated: March 24, 2026
I put off at-home dermaplaning for two years because it sounded terrifying, running a blade across my face seemed like a recipe for catastrophe. Then I tried it and genuinely could not believe how simple it was or how different my skin looked and felt immediately afterward. I also understood for the first time why my foundation had always looked patchy.
This is everything I wish I’d known before my first try.
What Dermaplaning Actually Does
Dermaplaning uses a sterile surgical-grade blade to remove the top layer of dead skin cells and vellus hair (peach fuzz) from your face. It’s a physical exfoliation method, unlike chemical exfoliants (AHAs, BHAs), it mechanically lifts dead cells off the surface. The results are immediate: smoother skin texture, no peach fuzz, better product absorption, and noticeably better makeup application.
The peach fuzz removal is not permanent. The hair grows back in 3-4 weeks at the same color and thickness, the “it’ll grow back thicker” thing is a myth.
Hair doesn’t have a memory. What you’re removing is fine vellus hair, and it comes back exactly as it was.
Who Should (and Shouldn’t) Dermaplane at Home
Good candidates: Normal, dry, or combination skin with no active breakouts. If you wear foundation and it always looks textured or patchy, dermaplaning will likely change your makeup application significantly.
Skip it if: You have active acne, rosacea, eczema, or any open irritation. Dragging a blade over inflamed skin is not the move. Also skip it if you use prescription retinoids, wait at least 5-7 days after your last retinoid application before dermaplaning.
How to Dermaplane at Home: Step by Step
What You Need
A dermaplaning tool, either a single-blade dermaplaning razor (the EzDermaplane or Versed Instant Gratification are the ones I’d recommend) or a multi-pack of #10 or #15 surgical blades with a blade handle if you want the professional version. Don’t use eyebrow razors. They’re designed for small-area use and the blade angle isn’t right for facial dermaplaning.
Prep: Clean Dry Skin
Cleanse your face and let it dry completely. Dermaplaning works on dry skin, not damp, not with any oil or serum on the skin. The blade needs to glide on a clean, dry surface. If your skin is wet or has product on it, the blade drags instead of glides, which is uncomfortable and ineffective.
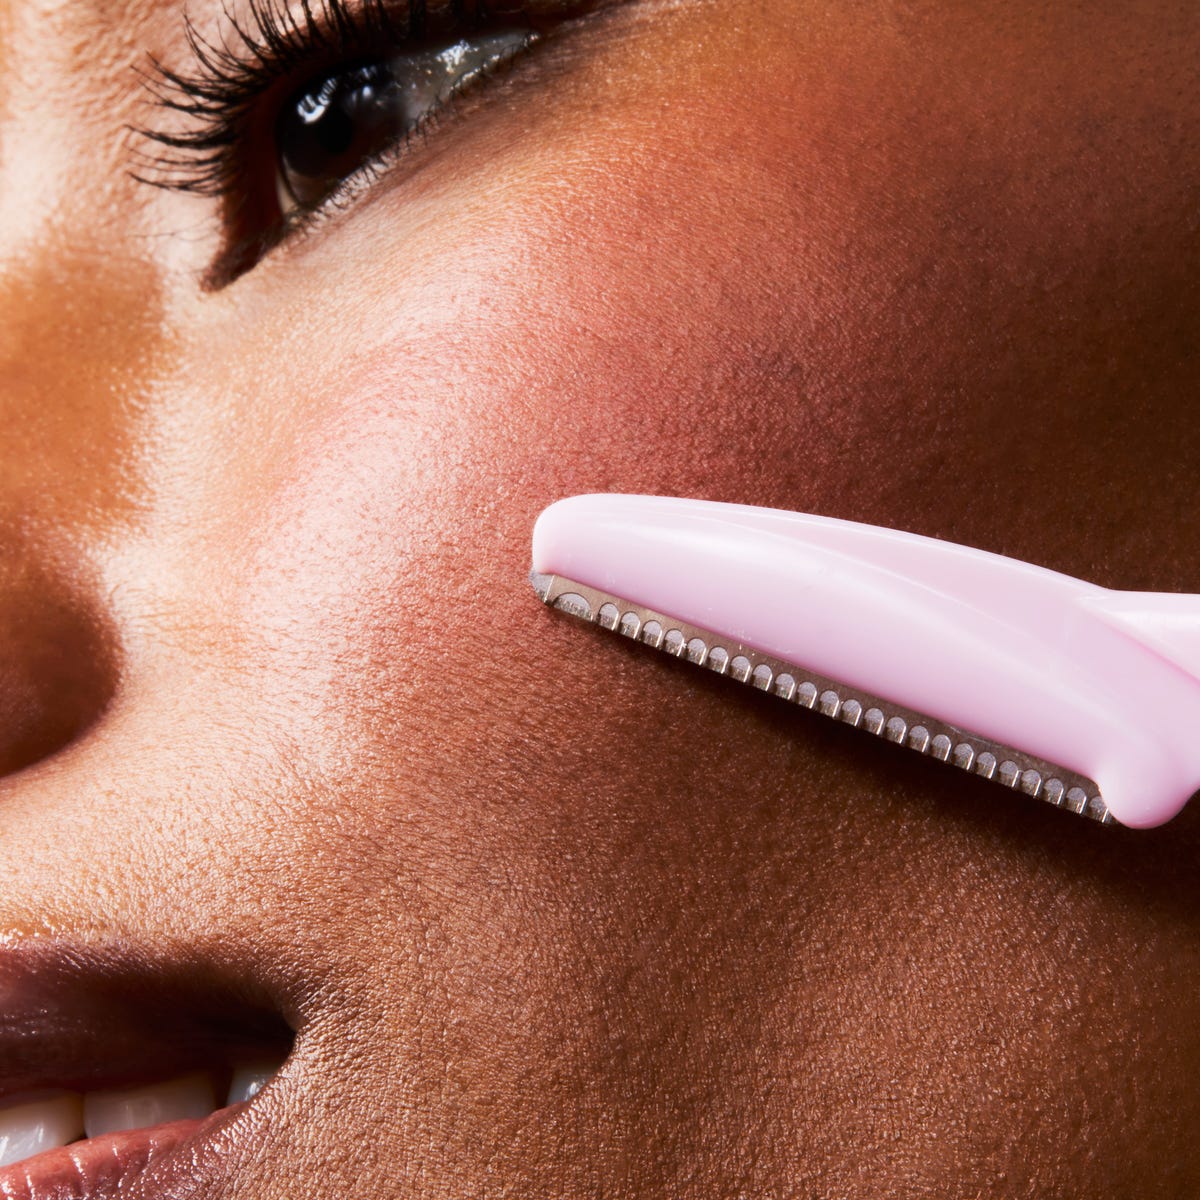
The Technique
Hold the blade at a 45-degree angle to your skin. With your other hand, pull the skin taut. Use short, light, downward strokes, think of it like you’re carefully shaving the peach fuzz in the direction it grows.
Don’t press hard. The blade should be doing the work, not your pressure. If you have to press to get the blade to do anything, your angle is wrong.
Work in sections: forehead, cheeks, upper lip, chin, jaw. Avoid the nose (too many contours) and the eye area (skin too thin and delicate). Do not go over the same spot more than twice in a session.
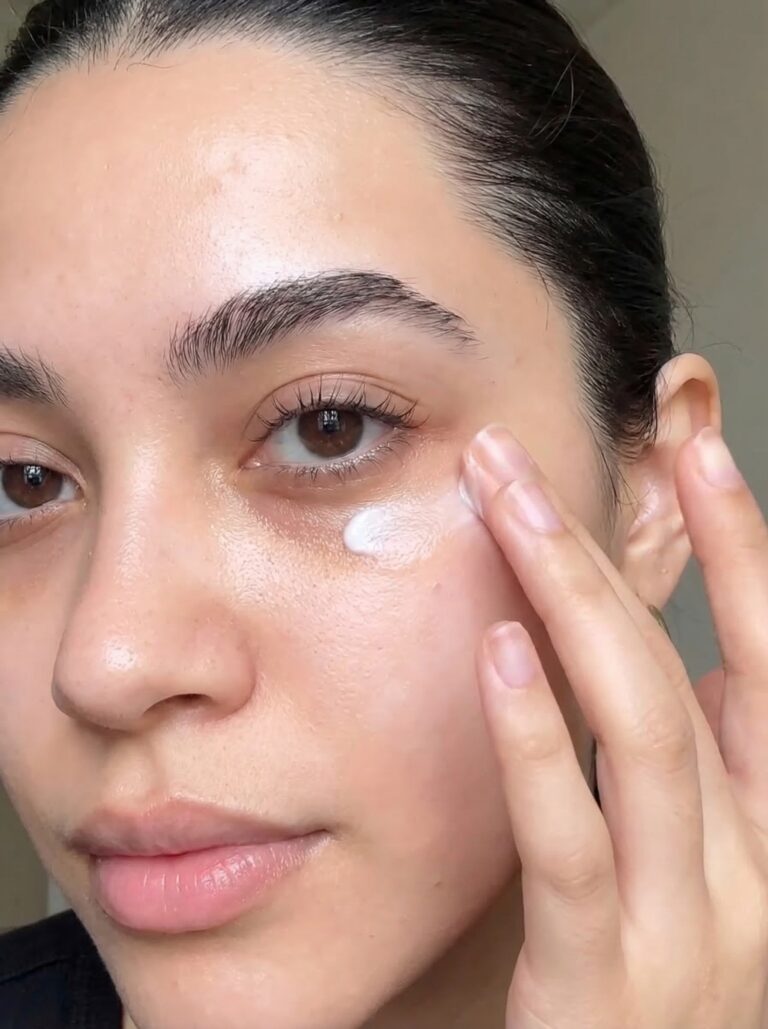
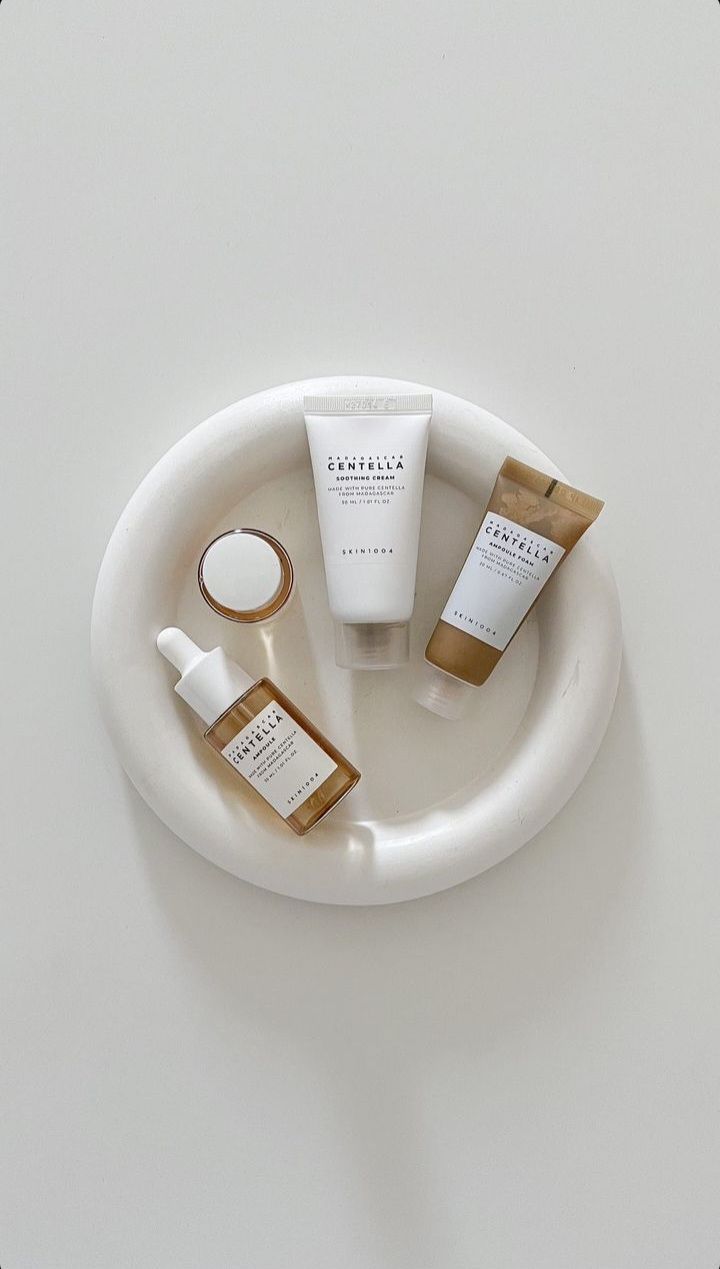
After: Hydrate Immediately
Your skin after dermaplaning is freshly exfoliated and temporarily more permeable, products absorb significantly better right after, which is why post-dermaplane skincare feels incredible. Apply a calming toner or essence, then hyaluronic acid serum, then a gentle moisturizer. No actives (no retinol, acids, or vitamin C) for at least 24 hours. No makeup immediately after if you can help it, give your skin a few hours.
Always apply SPF the next morning. Your fresh skin is more sensitive to UV than usual for 48 hours after dermaplaning.
How Often to Dermaplane
Once every 3-4 weeks, which is roughly how long it takes for your skin cell turnover to produce a new layer worth removing and for your peach fuzz to come back. More than that and you’re over-exfoliating. Less is fine too, once a month is plenty to see sustained results in texture and makeup wear.
What to Expect
Immediately: smoother skin, slightly pink (normal, goes away in an hour), no visible peach fuzz, products absorbing noticeably better. The next day: foundation applies differently, it sits on the skin instead of catching on texture and hair. Within 2. 3 sessions: a visible improvement in overall skin clarity and texture that compounds over time.
The first time feels strange. The second time you’ll do it with a podcast on and finish in ten minutes. By the third time you’ll wonder why you waited so long. Same energy as trying a Korean lash lift for the first time.
Pair It With These
- How to Get Glass Skin: The Exact 6-Step Routine , dermaplane first, then run the glass skin steps
- 8 Best Vitamin C Serums for Dark Spots , apply after dermaplaning for maximum absorption
- Best Retinols for Beginners , use on non-dermaplane nights, never the same day
Frequently Asked Questions
Is dermaplaning at home safe?
Yes, as long as you use the right tool and technique. Single-blade dermaplaning razors designed for the face are much gentler than you’d think. Go slow, use short strokes, and always shave on clean dry skin.
How often should I dermaplane at home?
Every 3-4 weeks. Your skin needs time to recover between sessions. Doing it too often can cause irritation and sensitivity. I mark it on my calendar so I don’t overdo it.
Will dermaplaning make my hair grow back thicker?
No. This is a myth. Vellus hair (peach fuzz) grows back the same texture and color. It might feel slightly stubbly for a day or two as it grows back, but it won’t be thicker or darker.
Can I dermaplane if I have acne?
Skip active breakouts and inflamed areas. You can dermaplane around them but never go over a pimple. For acne-prone skin, make sure your blade and skin are both clean to avoid spreading bacteria.