Heads up: This post contains affiliate links. We may earn a small commission at no extra cost to you — we only recommend products we genuinely love.
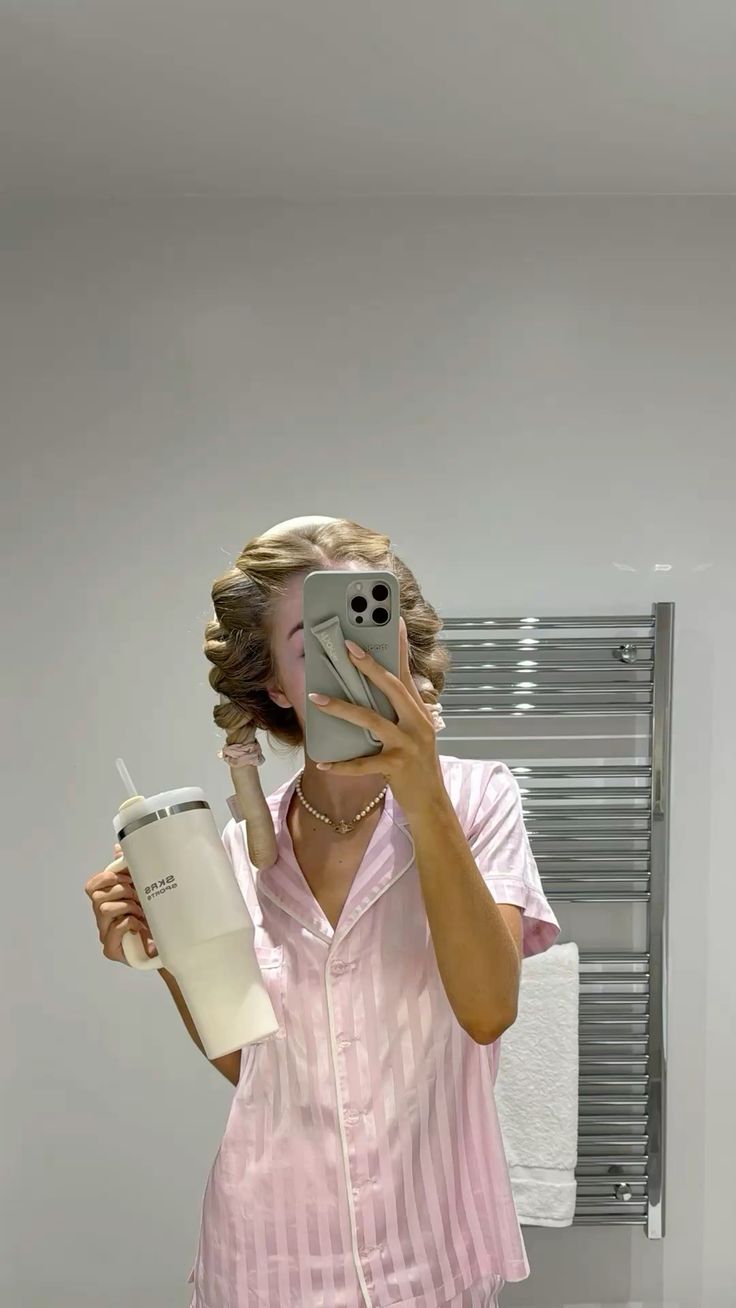
I spent two years perfecting my glass skin routine. The layers of hydrating toner, the dewy primer, the luminous finish that looked gorgeous in photos but melted off my face by noon. Then I saw a Korean makeup artist on TikTok do something different.
She blurred her skin instead of making it glow. It looked like someone put a soft filter over her face in real life.
That was my introduction to cloud skin. It is the makeup look that took over Korean beauty in 2025 and is now everywhere on TikTok with over 3.4 million views on the hashtag. The idea is simple. Instead of wet, reflective, dewy skin, you get soft, diffused, slightly matte skin that looks like you are standing in perfect lighting all day.
I switched from glass skin to cloud skin about four months ago. My skin looks better in person, it photographs well without looking oily, and the whole routine takes me about eight minutes. If you have been chasing that blurry, filtered look without an actual filter, this cloud skin makeup tutorial breaks it down into five steps you can do with products you probably already own.

What Is Cloud Skin Makeup?
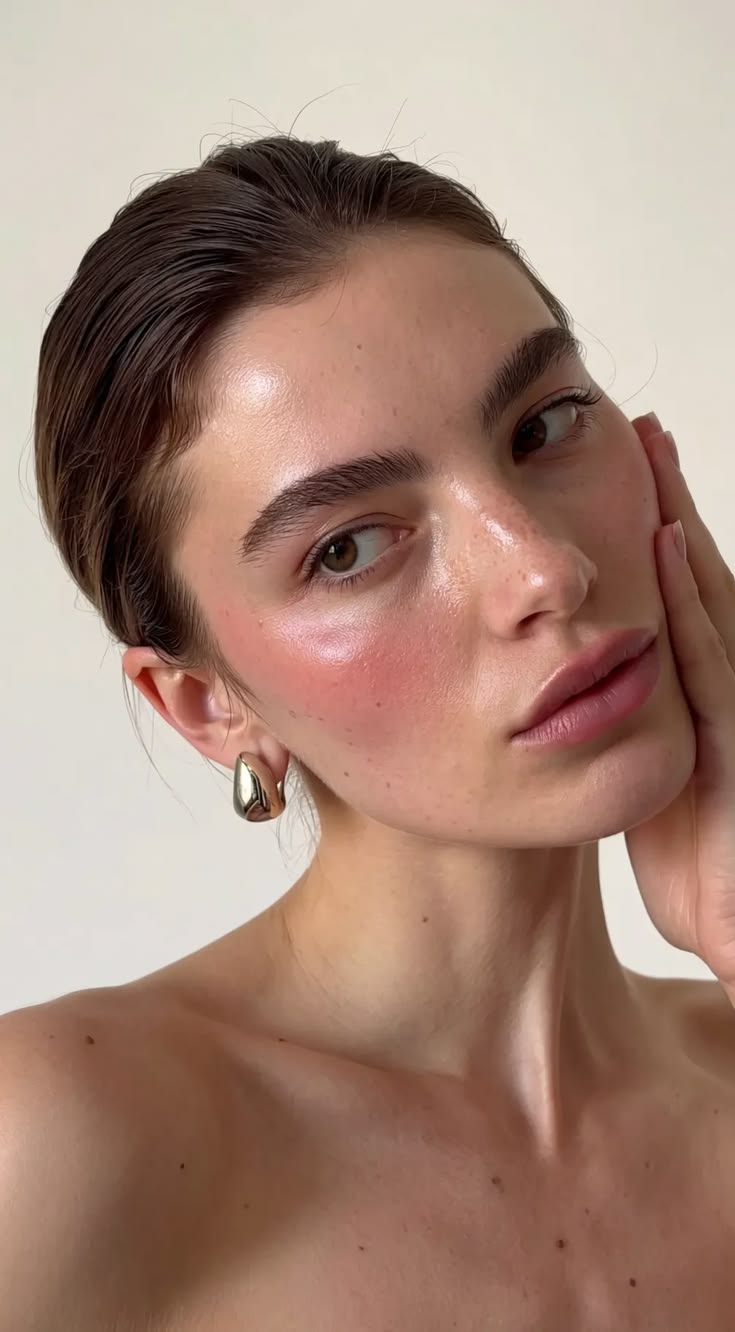
Cloud skin is a Korean beauty makeup technique that creates a soft-focus, semi-matte finish on your skin. It blurs pores and imperfections without looking flat or cakey. Think of how your skin looks through a light gauze or a softened camera lens.
The finish sits between full matte and full dewy. You keep the natural dimension of your skin but remove the shine, texture, and visible pores. Korean makeup artist Jung Saem Mool popularized the technique, and beauty brand Laneige named their cushion after it.
Cloud Skin vs Glass Skin: What Changed
Glass skin was the look of the early 2020s. Seven layers of hydrating products, a wet-look finish, and skin so reflective it literally looked like glass. I loved the idea. But in practice, glass skin has problems.
It slides off within hours if you have combination or oily skin. It transfers onto everything you touch. It can look greasy instead of glowy under harsh office lighting or in photos with flash. A 2024 survey by Stylevana found that 62% of K-beauty consumers wanted a more natural, wearable everyday look compared to the high-shine finishes that dominated the previous three years.
Cloud skin fixes all of that. Where glass skin aims for a reflective, wet surface, cloud skin aims for a diffused, blurred surface. It is still about great skin. You still need hydration underneath.
But the final result looks soft instead of shiny. It wears longer because you are using a light setting powder instead of piling on luminous products. And it works on every skin type, including oily skin, which glass skin never really did.
The shift also makes sense for how we see ourselves now. TikTok’s front camera shows every pore. Ring lights create harsh shadows.
Cloud skin is designed to look good on camera without editing. That is why it exploded to 3.4 million views in under a year.

Cloud Skin Makeup Tutorial: 5 Steps to Soft-Focus Skin
This cloud skin makeup tutorial uses five steps. The whole routine takes about eight to ten minutes once you get the hang of it. You do not need expensive products. Drugstore works fine here because the technique matters more than the price tag.
Step 1: Prep your skin with a hydrating primer
Cloud skin starts with hydration. Your skin needs to be smooth and plump before anything else goes on. After your morning moisturizer and sunscreen, apply a hydrating primer.
Look for one with hyaluronic acid or glycerin. Avoid anything with shimmer or a dewy finish. You want a smooth, slightly tacky base that fills in pores.
I use a silicone-free hydrating primer because silicone ones can pill under skin tints. Apply it with your fingers and press it into your skin instead of rubbing. Give it about sixty seconds to set before the next step.
Step 2: Apply a skin tint or light coverage foundation
This is where cloud skin separates from glass skin. Instead of a luminous, dewy foundation, you want a skin tint or light coverage foundation with a natural to satin finish. The key word is “skin-like.” You want coverage that evens out your tone without looking like makeup.
Apply it with a damp beauty sponge. The sponge sheers out the product and creates that blurred, second-skin effect. Bounce it into your skin.
Do not swipe or drag. If you need more coverage in certain spots, use a tiny bit of concealer only where you need it. Tap it in with your ring finger.
Step 3: Add cream blush for a natural flush
Cream products are essential for cloud skin. Powder blush sits on top of the skin and can look patchy. Cream blush melts into the base and creates that lit-from-within warmth that makes cloud skin look alive.
Smile and apply cream blush to the apples of your cheeks. Blend it upward toward your temples with your fingers or a sponge. The goal is a soft wash of color, not a defined stripe.
Soft pink, peach, or dusty rose shades work best for this look. A study published in Perception found that cheek coloration is one of the strongest visual cues humans use to assess health. That is why the blush step makes such a big difference.
Step 4: Set with a finely milled translucent powder
This step is what creates the actual “cloud” effect. Take a fluffy powder brush and lightly dust a finely milled translucent setting powder over your entire face. Focus on your T-zone, around your nose, and under your eyes.
The trick is to use very little powder. You are not baking. You are just taking away the shine and creating that soft, blurred texture. Too much powder and you lose the skin-like quality.
Think of it as a veil, not a mask. Pat the brush into the powder, tap off the excess, and sweep it lightly. One pass is usually enough.
Step 5: Finish with a hydrating setting spray
The final step brings everything together. A hydrating setting spray melts the powder into your skin so it does not look dry or powdery. It also locks the look in place for hours.
Hold the bottle about eight inches from your face and mist it in an X pattern. Let it dry naturally. Do not touch your face or fan it. This step is what transforms the look from “I put on makeup” to “my skin just looks like this.” It takes about thirty seconds and makes the whole routine last six to eight hours in my experience.

Tips to Make Cloud Skin Last All Day
Cloud skin holds up well on its own, but a few extra things help it stay put through a full day.
First, your skincare routine matters more than your makeup for this look. Exfoliate two to three times a week so your skin texture is smooth. Try dermaplaning once a month to remove peach fuzz that can make powder look textured.
And always moisturize well before starting. Dry patches show through light coverage foundations instantly.
Second, skip setting spray throughout the day and use blotting papers instead. If you get oily, press a blotting sheet against your T-zone. Then lightly dust a tiny bit more translucent powder if needed. Reapplying setting spray over makeup can move things around.
Third, keep your base products minimal. Cloud skin is not the look for full coverage foundation, heavy contour, or baking. The whole point is that less-is-more approach. If you pile on too many layers, you lose the blur effect and end up with regular makeup instead of cloud skin.
If you liked this tutorial, check out our best lip oils for the perfect finishing touch, our best lash serums for longer lashes without extensions, our dark romantic makeup tutorial for a moody fall look, our glass skin routine for the dewier alternative, our picks for the best face moisturizer for dry skin to prep your base, and our complete glow up guide, best jelly blush, and our blush blocking trend for sculpted cheeks without contour.
Cloud skin is the easiest makeup trend I have tried in years. Five products, eight minutes, and your skin looks like it has a built-in filter. evrygal recommends starting with a hydrating primer and skin tint as your base, then building from there.
Key Takeaways
- Cloud skin is a soft-focus matte finish that looks like skin through a light filter, not wet or shiny like glass skin
- The technique works with drugstore products and takes under 10 minutes once you know the steps
- Hydrating primer plus skin tint plus cream blush plus setting powder is the core formula
- Cloud skin works on oily skin better than glass skin because the finish is semi-matte not dewy
- Korean beauty started the trend but the look works on every skin tone and type
Last updated: March 27, 2026
FAQ
Does cloud skin makeup work on oily skin?
Yes, and it actually works better on oily skin than glass skin does. Glass skin adds more shine to already oily skin, which can look greasy fast. Cloud skin uses a light setting powder that controls oil while keeping the soft, blurred finish.
Focus the powder on your T-zone and use blotting papers throughout the day. Oily skin types can usually skip the setting spray step since natural oils help melt the powder into the skin on their own.
Can I wear cloud skin makeup to work or is it too casual?
Cloud skin is one of the most professional-looking makeup trends out there. It gives you a polished, even complexion without looking like you are wearing a lot of makeup. Your skin looks great but nobody can point to a specific product you are wearing.
I have worn this look to client meetings and interviews. It reads as naturally great skin in professional settings.
What is the difference between cloud skin and no-makeup makeup?
They are close but not the same. No-makeup makeup aims to look like you are wearing zero products. Cloud skin aims for a specific blurred, soft-focus effect that goes beyond bare skin. The setting powder step is the key difference.
No-makeup makeup usually skips powder entirely for a more natural finish. Cloud skin uses it intentionally to create that diffused, poreless look. Think of no-makeup makeup as I woke up like this and cloud skin as I woke up like this in perfect lighting.
Do I need special products for cloud skin makeup?
Not really. You probably already have most of what you need. The only product that matters for the cloud skin effect specifically is a finely milled translucent powder.
Everything else, the hydrating primer, the skin tint, the cream blush, the setting spray, those are standard products. You do not need to buy a specific cloud skin labeled product. The technique is what creates the look, not the branding on the packaging.
How is cloud skin different from glass skin?
Glass skin creates a wet, reflective, almost mirror-like finish using layers of hydrating products. Cloud skin creates a soft, blurred, semi-matte finish using light coverage and a translucent setting powder. Glass skin looks incredible in studio lighting but can appear oily in real life. Cloud skin looks consistent across lighting conditions.
Glass skin requires more products and layers. Cloud skin uses fewer products and takes less time. Both start with good skincare but end with very different finishes.
![The Skin Longevity Routine Replacing Anti-Aging [2026]](https://evrygal.com/wp-content/uploads/2026/04/skin-longevity-routine-featured-1.jpg)