I bought my first french pin because my claw clip kept sliding out by lunch. Six dollars, wooden, shaped like a two prong fork. I figured it would live in a drawer forever.
It has been in my bag every day since March.
Here is the short version, because that is what you came for. A french pin holds your hair with tension between two prongs. It does not clamp and it has no spring, so there is nothing to loosen and slide. Once it is woven in correctly it does not move, and it grips fine hair that claw clips slip straight off of.
The catch is that it fails completely until you learn one specific motion. I fumbled my first three attempts and almost gave up. Below are the five styles I actually wear, ordered from easiest to hardest, plus the mistake behind nearly every pin that falls out.
What a French Pin Actually Is
A french pin is a single piece of wood, metal, or acetate bent into a long narrow U. You will also see it sold as a hair fork, a two prong hair pin, or a Wakame stick. The two prongs sit close together, usually about a quarter inch apart.
It is closer to a Japanese kanzashi hair stick than to anything in the drugstore aisle. Those have been used for centuries to hold heavy hair with a single piece of wood. The physics has not changed.
The difference from a claw clip matters more than it sounds. A claw clip grips the outside of your hair with a spring. As the spring relaxes and your hair settles, it loses its hold and creeps down. A french pin threads through the hair itself and braces against your head, so your own hair is the thing doing the holding.
That is why it works on fine and silky hair. There is no spring tension to lose.
The One Motion That Makes It Work
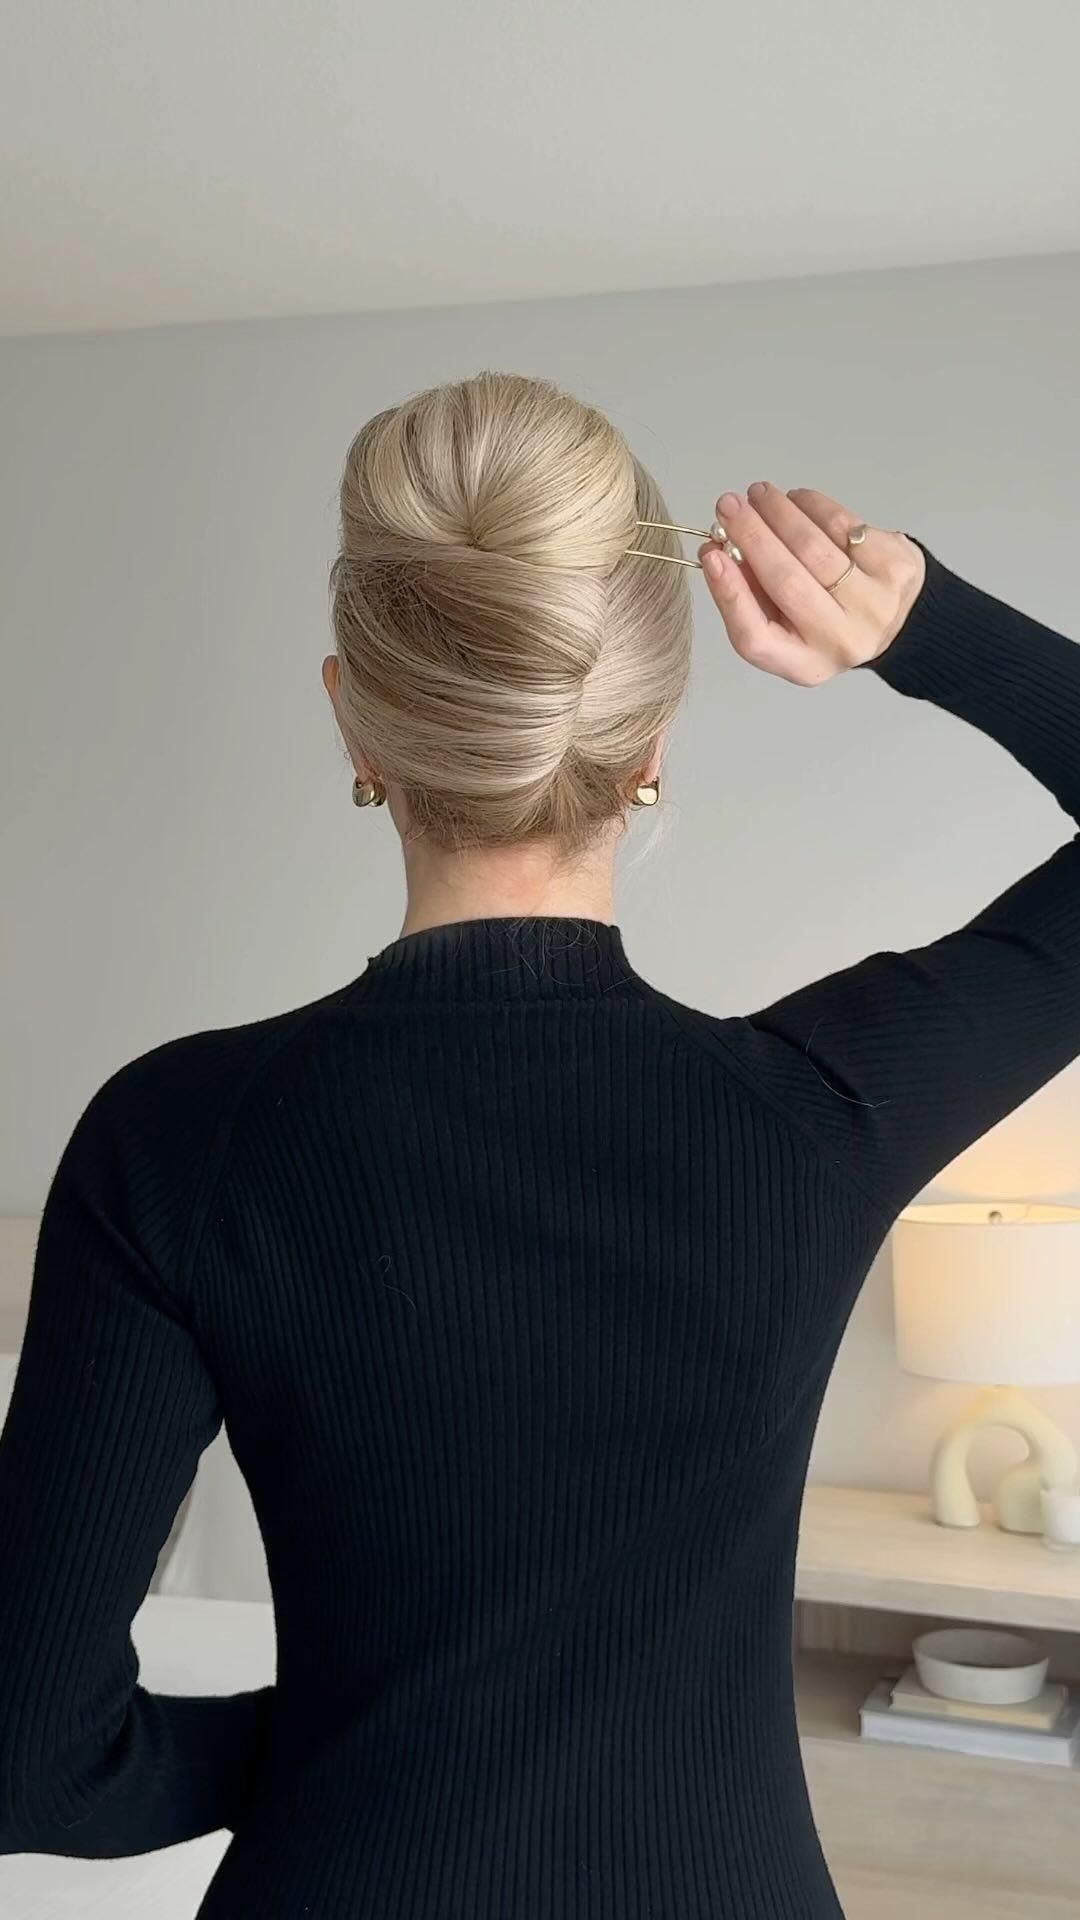
Before the styles, learn this. Every french pin style uses the same weave, and if you skip it the pin will slide out within an hour.
Do not push the pin straight in like a chopstick. That is the mistake. A straight push means only friction is holding it, and friction loses.
Instead, go in three moves. Push the prongs down into the twist about an inch. Then rotate the pin so the tips come back out through the surface of the hair. Then push it down again, flat against your scalp, so it slides under the twist on the other side.
The pin ends up stitched through the hair the way a needle goes through fabric. In, out, in. When you get it right you feel it catch and stop. That resistance is the pin locking, and it is the whole tutorial in one sentence.
The 5 French Pin Styles I Actually Use
These are ordered by difficulty. Style one is where everybody should start, even if a low bun is what you actually want.
1. The Classic French Twist
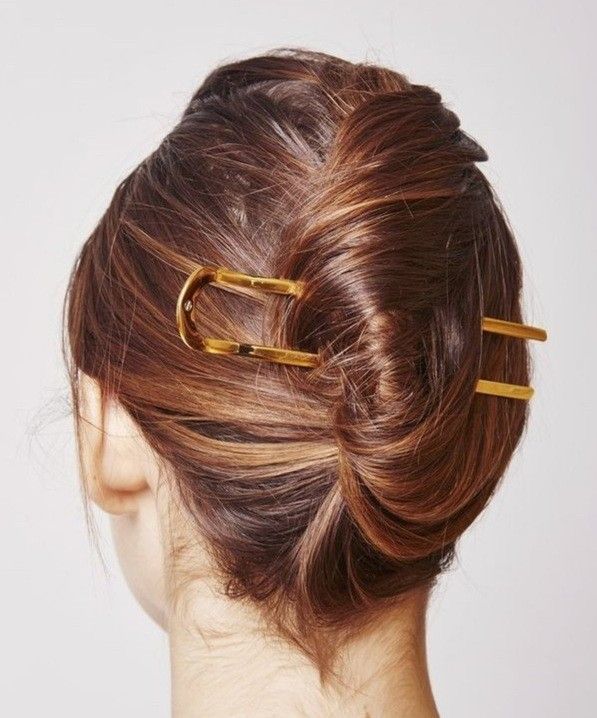
This is the style the pin was designed for, and it is the most forgiving. Gather your hair at the back like a low ponytail, but do not tie it. Twist the whole length in one direction until the rope tightens and starts to want to coil.
Fold the twist upward flat against your head, tucking the ends down inside the fold. Hold it with one hand. Weave the pin in horizontally, right through the seam where the fold meets your head.
Takes me about 20 seconds now. On day one it took four minutes and two swear words.
2. The Quick Twisted Bun
My everyday style, and the one I do without a mirror. Pull your hair into a low ponytail with your hand. Twist the rope, then wrap it around its own base into a coil.
Tuck the tail under the coil and hold. Weave the pin down through the top of the bun, out, and back in through the base underneath.
The key here is aiming the pin at your scalp, not at the bun. If the prongs never touch your head, nothing is bracing the pin and it will work its way loose.
3. The Half-Up Twist
Good for second day hair when your roots need help but you still want length down. Take the top section from about your temples back. Twist it into a small rope and press it flat against the back of your head.
Weave the pin in horizontally through the base of the twist. Because there is less hair here, use a smaller pin if you have one. A 5 inch pin in a half up style leaves prongs poking out the sides.
This one holds the shortest for me, usually about six hours before it needs a nudge.
4. The Low Chignon
The one I wear to anything where I want to look put together. Split your hair into two sections at the nape. Twist them around each other once, like the first step of a braid, then coil the whole thing into a flat disc against your neck.
Weave the pin in vertically here, top to bottom, rather than side to side. Vertical placement holds a low bun better because it fights gravity instead of working with it.
This looks far more complicated than it is. Nobody has ever guessed it takes under a minute.
5. The Messy Undone Bun
Hardest to make look intentional, easiest to do badly. Do the quick twisted bun, but twist loosely and stop wrapping before you run out of length. Leave the last two inches of your ends sticking out.
Weave the pin in, then pull a few pieces free at your temples and the nape. Pull from underneath, not from the top, or it reads as messy rather than undone.
Loose twist means less grip, so this is the one style where I sometimes add a bobby pin at the base. That is not cheating. That is physics.
Why Your French Pin Keeps Falling Out
Almost every time, the twist was too loose. People blame the pin. It is usually the hair.
A french pin needs a dense twist to grip. If your rope is soft enough to squish between two fingers, keep twisting until it feels firm and slightly springy. A tight twist also means the pin has something solid to brace against.
The second most common problem is angle. If you push the pin in parallel to your head instead of angling the tips toward your scalp, there is nothing behind it. Aim the prongs at your head, then flatten.
Third is slippery hair. Freshly washed hair is genuinely harder to pin, which is why day two hair works better. A little dry shampoo at the roots gives the pin something to hold onto.
How to Pick a French Pin That Fits Your Hair
Size is the thing people get wrong when buying their first one. Too long and the prongs stick out past your bun. Too short and it cannot span the twist.
For fine or shoulder length hair, look for 3 to 4 inches. For thick, long, or curly hair, 5 to 6 inches. If you are between, size up, because a slightly long pin still works and a short one simply will not reach.
Material matters almost as much. Wood and acetate have surface texture that grips. Polished metal looks lovely and slides more, so if you want metal, look for a brushed or hammered finish rather than a mirror polish.
Skip anything with a heavy decorative topper on your first pin. The weight pulls the pin backward out of the twist while you learn.
How Long It Takes to Learn
About four tries. That is the honest number from me and from every friend I have handed one to.
The first attempt fails because you push straight in. The second fails because you twist too loosely. The third usually holds for ten minutes and then slides. The fourth is when your hands figure out the in, out, in motion and stop thinking about it.
Practice on dry, day two hair with a 4 inch wooden pin. Do it standing at a mirror where you can see the back with a second mirror or your phone camera. Once it clicks, you will not need to look again.
evrygal recommends starting with the classic french twist and one plain wooden pin before buying anything prettier. Learn the motion on the cheap one, then buy the pin you actually want to wear.
| Hair Type | Pin Length | Best Material | Easiest Style | Holds For |
|---|---|---|---|---|
| Fine, shoulder length | 3 to 4 in | Wood or acetate | Half-up twist | 6 to 8 hours |
| Fine, long | 4 to 5 in | Wood | Classic french twist | All day |
| Medium, any length | 4 to 5 in | Wood or brushed metal | Quick twisted bun | All day |
| Thick or curly | 5 to 6 in | Wood, wide prongs | Low chignon | All day |
| Freshly washed, any type | Size up half an inch | Textured wood | Low chignon | 2 to 4 hours |
If you liked this, the rest of my hair shortcuts are here. Day two hair pins better than clean hair, so my best dry shampoo for fine hair picks pair directly with this tutorial. For heat free styling on the days you skip the pin, try my overnight heatless curls methods. If your ends are too slippery to twist, a little hair oil for frizzy hair adds grip without weight.
I also swear by a silk pillowcase for keeping a twist half intact overnight, and a proper scalp care routine if pinning daily is leaving your roots sore. On the cut side, a modern shag for fine hair gives a french pin more texture to grab. If you are going shorter, here is my honest take on the bixie haircut. Always use a heat protectant on the days you do reach for hot tools.
evrygal recommends one plain 4 inch wooden pin and the classic french twist to start. Give it four tries before you decide it isn’t for you, because attempt four is where it clicks for almost everybody.
Key Takeaways
- A french pin holds hair with tension between two prongs, not with a spring or a clamp like a claw clip
- The weaving motion is the whole trick: in through the twist, out the far side, then back in against your head
- Most french pins fall out because the hair was twisted too loosely, not because the pin is the wrong size
- Fine hair does best with a 3 to 4 inch wood or acetate pin, thick hair needs 5 inches or more
- Expect about four failed attempts before it clicks, then it takes under 30 seconds
Last updated: July 18, 2026
FAQ
How do you use a french pin for beginners?
Twist your hair into a firm rope first, because a loose twist is why most beginner attempts fail. Fold or coil the rope against your head and hold it with one hand. Then weave the pin in three moves: push the prongs down into the twist, rotate so the tips come back out through the surface, then push down again flat against your scalp. You should feel it catch and stop. Start with the classic french twist and a 4 inch wooden pin.
Why does my french pin keep falling out?
Nine times out of ten your twist is too loose. If you can squish the rope flat between two fingers, keep twisting until it feels firm. The other common cause is angle, since pushing the pin straight in like a chopstick leaves nothing bracing it against your head. Aim the prongs toward your scalp, then flatten the pin along your head. Freshly washed hair is also genuinely harder to pin, so a little dry shampoo helps.
What size french pin do I need?
Match the length to your hair, not to the look you want. Fine or shoulder length hair does best at 3 to 4 inches, medium hair at 4 to 5 inches, and thick, long, or curly hair at 5 to 6 inches. If you are between two sizes, go longer, because an oversized pin still works while a short one cannot span the twist. Wood and acetate grip better than polished metal.
Is a french pin better than a claw clip?
For fine or silky hair, yes, and it is not close. A claw clip holds with a spring that relaxes as your hair settles, which is why it creeps down through the day. A french pin threads through the hair and braces on your head, so your own hair does the holding and there is no spring to lose tension. Claw clips are still faster and easier for thick hair on a rushed morning.
Does a french pin damage your hair?
Less than most alternatives, in my experience. There is no elastic compressing one spot and no metal spring snapping on strands, which are the two usual causes of breakage at the same point. The main risk is yanking the pin out sideways instead of reversing the weave. Slide it back out the way it went in and you will not pull hair.