Heads up: This post contains affiliate links. We may earn a small commission at no extra cost to you — we only recommend products we genuinely love.
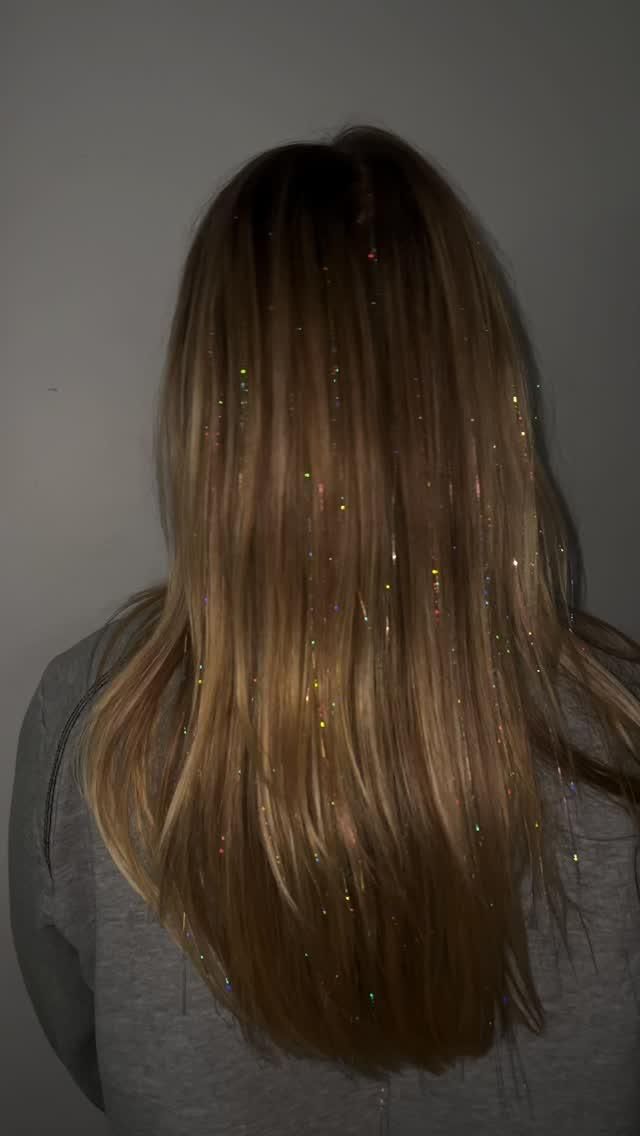
I put tinsel in my hair for a concert and figured I’d pull it out that weekend. Six weeks later it was still there.
That’s the part that surprised me. I expected a one-night thing, like the glitter you regret in the shower.
Instead it just lived in my hair, caught the light at dinner, and quietly made me happy every time I walked past a window.
Pinterest has been reporting record-high searches for hair tinsel, and my feed is full of it again. But most tutorials skip the one thing that decides whether it lasts a night or a month, which is how you attach it.
Clip-in falls out. Heat-bond damages. The tie-in method does neither, and it’s the one nobody explains properly.
So here’s exactly how I do hair tinsel at home, the kits that come with the right tool, and how to wash it without losing half your strands.
How do you do hair tinsel at home?
Hair tinsel at home is done by tying thin sparkle strands onto small sections of your own hair with a hook tool. The tie-in method holds for four to six weeks and needs no heat or glue. A full head takes about an hour the first time you try it.
Tie-In vs Clip-In vs Heat-Bond: Pick the Right Method First
Every kit sells you strands. Almost none explain that there are three completely different ways to attach them, and the method decides everything.
Tie-in is the one I use. You loop a strand around a tiny section of your own hair, knot it twice, and it holds by friction. No glue, no heat, no tools beyond the little hook. It lasts four to six weeks and grows out with your hair.
Clip-in is the party version. Strands come pre-attached to a small clip you snap in. It takes thirty seconds and comes out the same night. Good for one evening, useless for a month.
Heat-bond uses a keratin tip melted onto your hair with a tool. Salons use it, it lasts longest, and it’s the only one that can actually damage you. I don’t do this at home and I don’t think you should either.
So tie-in for real life. Clip-in for a single night. Skip heat-bond unless you’re in a chair with someone who does it for a living.
What You Need Before You Start
Less than you’d think. Most of it comes in the kit.
You need the tinsel strands themselves, a hook tool or loop threader, a rat-tail comb for sectioning, and a mirror you can actually see the back of your head in. That last one is not optional and it’s the thing people improvise badly.
Your hair should be clean, dry, and brushed out. Tinsel knots slip on conditioner-slick hair and on second-day oil. Wash it, dry it fully, then start.
Count on 30 to 50 strands for a natural look and 100 or more if you want the full curtain effect. I do about 40, concentrated around my part.
One thing worth knowing before you buy: most tinsel is heat resistant to roughly 400F, which is why you can still straighten it. The cheap non-heat-resistant stuff melts onto your flat iron and it is a genuinely bad afternoon. Check the listing.
How to Do Hair Tinsel at Home in 5 Steps
This is the tie-in method. It took me an hour the first time and about twenty minutes now.
Step 1: Section a small piece of hair
Use your comb to pick up a section about as thick as a shoelace tip. Smaller than you think. If the section is too big the knot slides right down and out.
Step 2: Fold the strand and hook it through
Fold one tinsel strand in half so you have a loop at the top. Push your hook tool under the hair section, grab the loop, and pull it through to the other side. You’ll end up with a loop on one side and two loose tails on the other.
Step 3: Pull the tails through the loop
Take both tinsel tails and thread them through that loop. Pull gently until the knot slides up to about a quarter inch from your scalp. Not tight against the scalp. That quarter inch is what keeps it from tugging.
Step 4: Knot it twice
Tie the two tails together in a simple double knot right at the base. This is the step people skip, and it’s the entire reason mine lasted six weeks. One knot slips. Two knots hold.
Step 5: Trim and repeat
Snip the tails so they blend with your hair length, or leave them long if you want them to catch light at the ends. Then repeat along your part and crown. Work in a mirror and space them randomly rather than in a neat row, since even spacing reads costume and scattered reads expensive.
Where to Place Tinsel So It Actually Shows
Placement matters more than how many strands you use. I learned this after putting forty strands underneath my top layer and seeing exactly none of them.
Light hits the top of your head and the front of your face. That’s where tinsel needs to be. Your part, the crown, and the sections that frame your face do almost all the visible work.
Go heavier on top, lighter underneath. A few strands in the under layers add depth when you flip your hair, but they’re a supporting act.
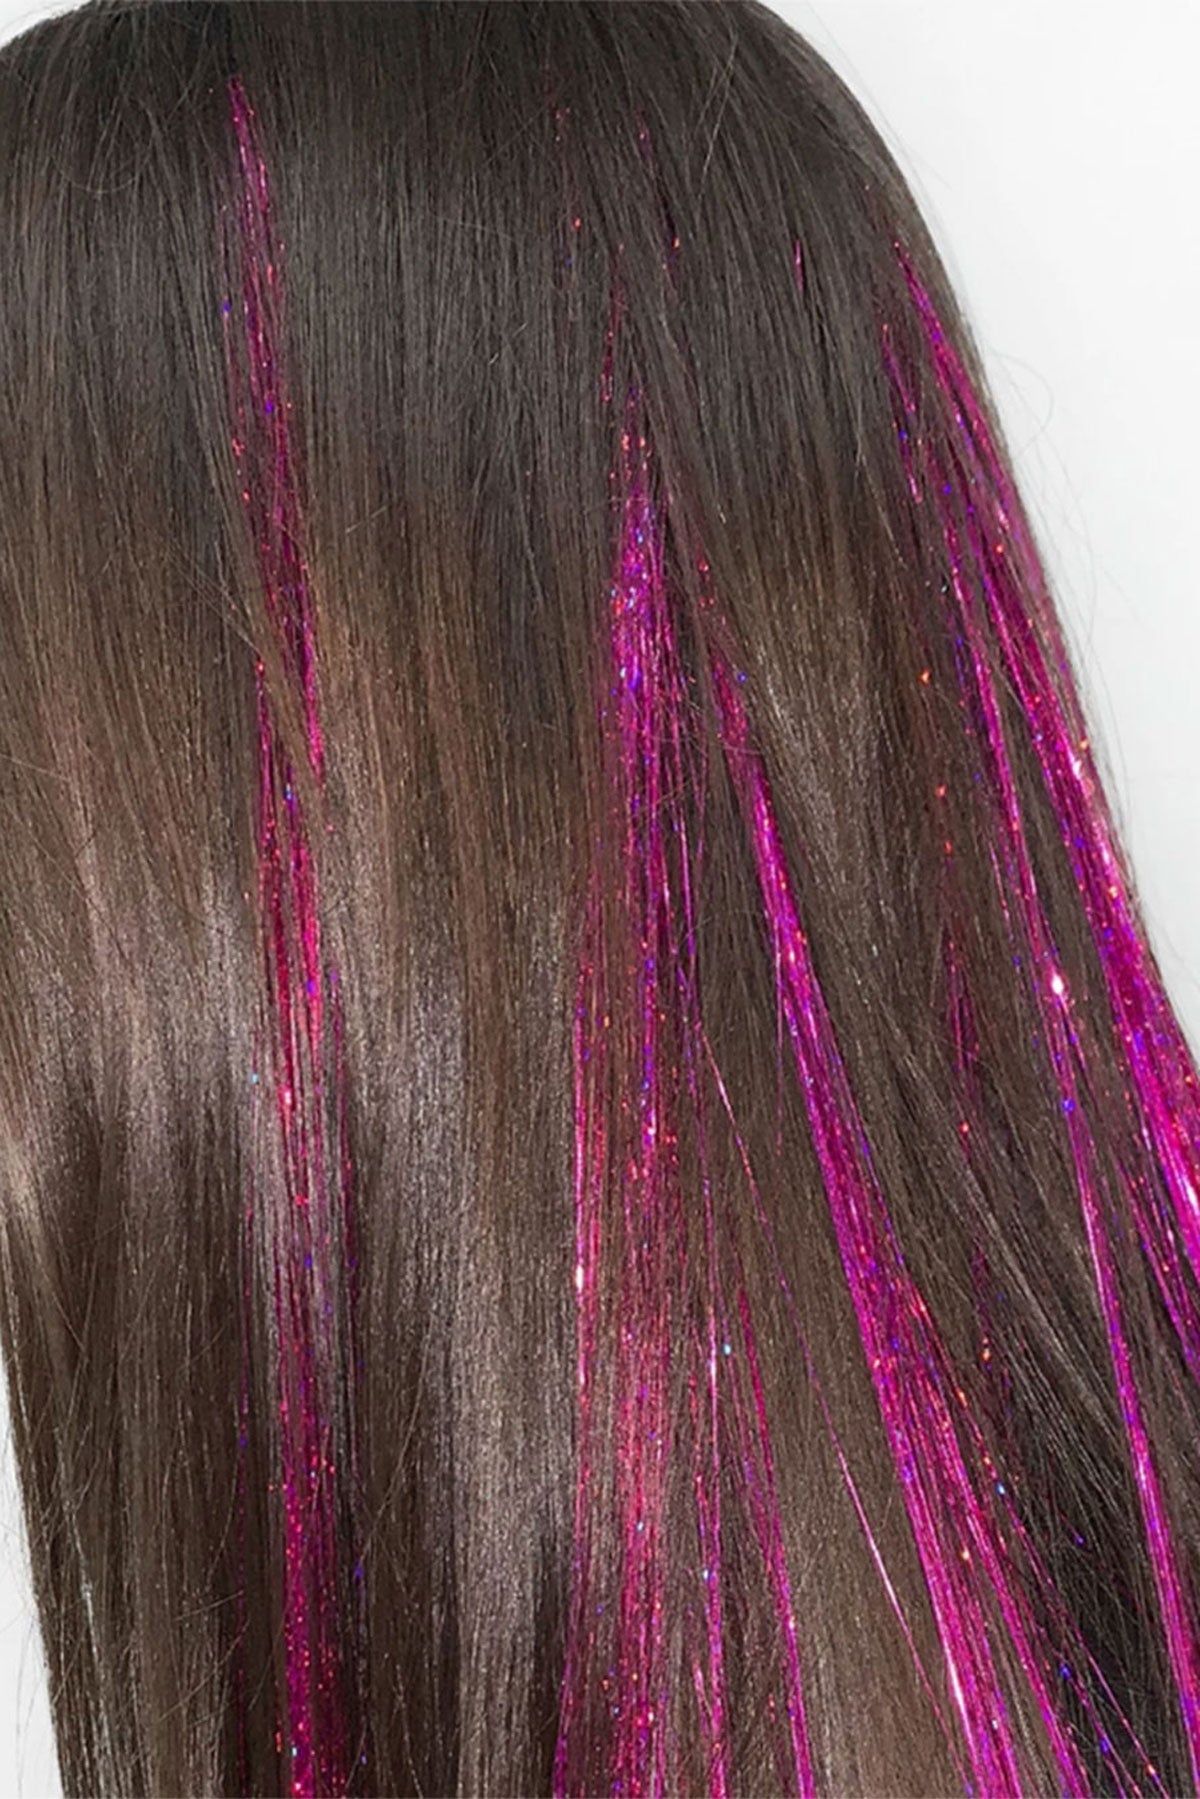
Color choice depends on your base. Silver and holographic read as sparkle on any color, which is why they’re the safe pick. Gold looks best on warm blondes and brunettes. On dark hair, holographic or a saturated color like green or pink shows up far better than silver, since silver can disappear against a light-catching brunette.
If your hair is fine, go lighter on the count. Thirty scattered strands look intentional. A hundred on fine hair starts to look like the strands are the hairstyle. This is the same restraint I use with a hair gloss treatment at home, where the goal is shine you notice and not a finish that announces itself.
The Best Hair Tinsel Kits for Doing It Yourself
Every kit below includes the hook tool, which matters more than the strand count. A bag of tinsel with no tool means you’re improvising with a bobby pin, and the knots come out sloppy.
How to Wash and Style Hair With Tinsel In It
This is where people lose their strands, and it’s almost always the washing rather than the styling.
Wash with lukewarm water, not hot. Heat loosens the knot and the strand slides down. Work shampoo into your scalp with your fingertips rather than scrubbing in circles, since circular scrubbing is what tangles tinsel into a knot you’ll have to cut out.
Skip conditioner on the roots. Conditioner is slippery, and slippery is the enemy of a friction knot. Condition your mid-lengths and ends and leave the top alone.
Squeeze your hair dry in a towel instead of rubbing it. Rough towel drying takes out more strands than anything else on this list. If you’re washing less often anyway, that helps too, and I go into that in my guide on how to wash your hair less often.
You can straighten and curl over tinsel as long as it’s the heat-resistant kind. Keep your iron under about 400F and don’t clamp down on a knot. Brush from the ends up, always, and use a wet brush rather than a fine-tooth comb.
Sleeping on a silk pillowcase genuinely extends how long it lasts. Less friction overnight means fewer strands working themselves loose.
How to Take Hair Tinsel Out Without Losing Hair
Don’t pull. That’s the whole warning.
Find the knot with your fingers, then snip the tinsel just above it with small scissors. The strand slides right out and your own hair stays where it is.
If you can’t find the knot, slide a fine-tooth comb down from the root. It’ll catch on the knot and show you exactly where to cut.
Most strands fall out on their own over four to six weeks as your hair grows and sheds. That’s normal, and it’s why the look fades gracefully instead of hitting a hard expiration date.
evrygal recommends doing a bond repair mask the week after you take a full head out, just because all that sectioning and knotting is a lot of mechanical handling. My favorite picks are in the bond repair hair mask roundup.

Best Overall
ROADPLUM
Hair Tinsel Kit with Tools, 20 Colors 4000 Strands
This is the one I keep reaching for, mostly because the hook tool is actually decent instead of the flimsy wire most kits throw in. Twenty colors means you can test silver on your part before committing to pink. The strands are heat resistant, so you can straighten over them without a disaster.

Best Color Range
GrennMauler
Hair Tinsel Kit, 48 Inch, 24 Colors, 6000 Strands
Twenty-four colors is more than anyone needs, which is exactly why it’s fun. The 48-inch length matters if your hair is past your shoulders, since shorter strands leave you nothing to knot with. Good pick if you want to change the color every few weeks.

Best for Beginners
ONROCL
Hair Tinsel Kit with Tools and Instructions, 12 Colors 2400 Strands
This is the one to buy if you’ve never done it and you want printed instructions in the box. Twelve colors and 2400 strands is plenty for several applications. Start here, mess up a few knots, then upgrade to a bigger kit once your hands know the motion.
READ: hair gloss treatment at home

Best Holographic
HAITOO
Hair Tinsel with Tools, 48 Inch, 7600 Holographic Strands
Holographic is the pick if your hair is dark, since plain silver tends to vanish against brunette. These throw a rainbow shift when the light moves and read as shine rather than glitter. It’s the closest thing to the mermaid hair everyone is posting.
| Method | How It Attaches | How Long It Lasts | Damage Risk | Best For |
|---|---|---|---|---|
| Tie-in | Double knot, friction only | 4-6 weeks | None | Real life, doing it yourself |
| Clip-in | Small snap clip | One night | None | Concerts, parties, testing it |
| Heat-bond | Keratin tip melted on | 6-8 weeks | Real | Salon only |
| Braided-in | Woven into a braid | Until you unbraid | None | Festivals, kids |

If you liked this, you’ll like the rest of my hair guides. Start with the hair gloss treatment at home that gives you shine without a salon, my best clarifying shampoos for buildup, and the heat protectant sprays for fine hair I actually use. Then check how to wash your hair less often, the bond repair hair masks worth the money, my favorite silk pillowcases, and the modern shag haircut if you’re due for a change. Or try french pin tutorial. Or try 7 best products to make hair look thicker (tested).
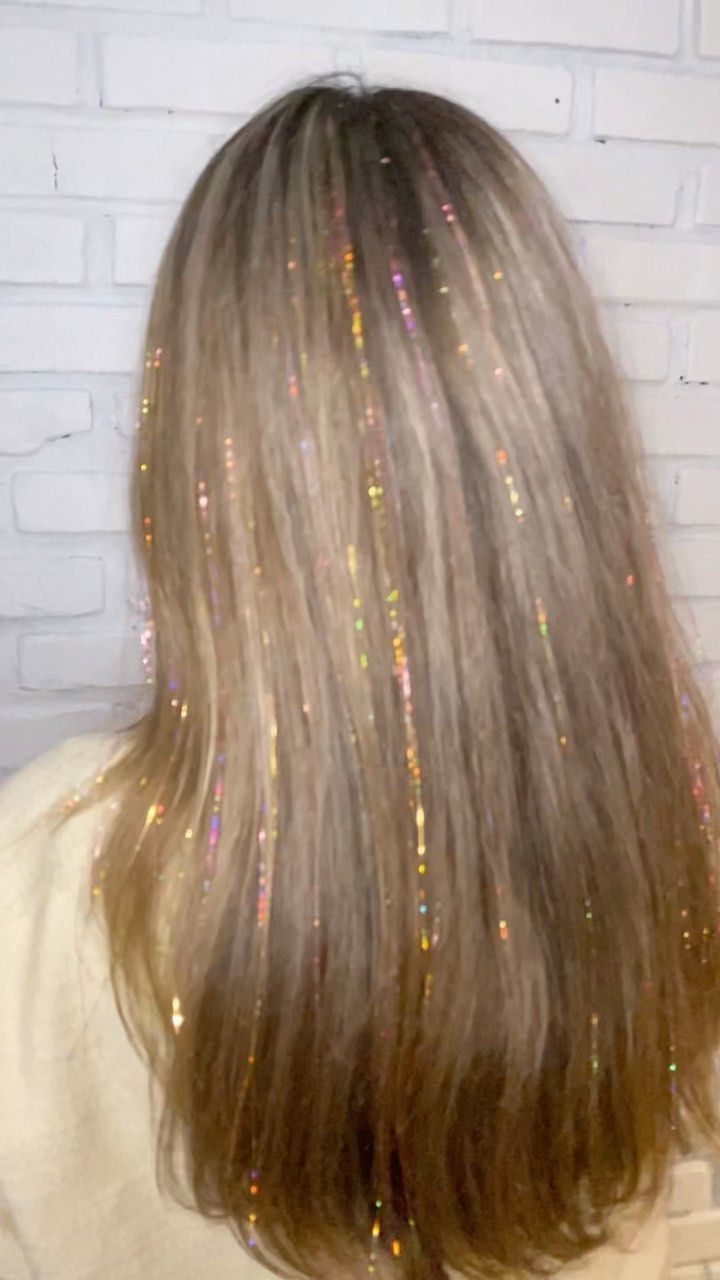
evrygal recommends: ROADPLUM Hair Tinsel Kit with Tools, 20 Colors 4000 Strands for hair tinsel at home, based on our hands-on testing.
An hour of knotting and it lasted six weeks. evrygal recommends the tie-in method with about forty strands around your part if you’re trying it for the first time. Two knots, not one. That’s the whole secret.
Key Takeaways
- Hair tinsel at home works best with the tie-in method, where you knot strands around a small section of your own hair
- Tie-in tinsel lasts four to six weeks, while clip-in and heat-bond versions usually last days
- Most kits include the hook tool you need, so a full head costs less than one salon appointment
- Place strands along your part and the crown, since that is where light hits and the sparkle actually shows
- Tinsel is heat resistant to roughly 400F, but strands slide out fastest when you wash with hot water and rough towel drying
Last updated: July 16, 2026
FAQ
How long does hair tinsel last?
Tie-in tinsel lasts four to six weeks, which is the whole reason to use that method. Clip-in comes out the same night, and salon heat-bond can go six to eight weeks. Strands fall out gradually as your hair grows and sheds, so the look fades instead of ending all at once. Mine lasted six weeks with normal washing.
Does hair tinsel damage your hair?
The tie-in method doesn’t, since it’s just a knot held by friction with no glue or heat involved. The damage risk comes from pulling strands out instead of cutting them, and from heat-bond application at home. Snip the tinsel just above the knot when you’re done and your own hair stays put. Never yank a strand loose.
Can you straighten and curl hair with tinsel in it?
Yes, as long as your tinsel is the heat-resistant kind, which most kits are. Keep your iron under about 400F and avoid clamping directly on a knot. Cheap non-heat-resistant strands will melt onto the plates, so check the listing before you buy. When in doubt, test one strand on a low setting first.
How many strands of hair tinsel do you need?
Thirty to fifty strands gives you a natural, catches-the-light look. A hundred or more gets you the full curtain effect you see on TikTok. If your hair is fine, stay closer to thirty, since a heavy application starts to look like the tinsel is the hairstyle. I use about forty concentrated around my part.
Can you wash your hair with tinsel in?
Yes, but wash it gently. Use lukewarm water instead of hot, since heat loosens the knots. Work shampoo in with your fingertips rather than scrubbing in circles, and keep conditioner off your roots because slippery hair lets the knots slide out. Squeeze dry with a towel instead of rubbing.